Raised Bed Gardens Made Easy

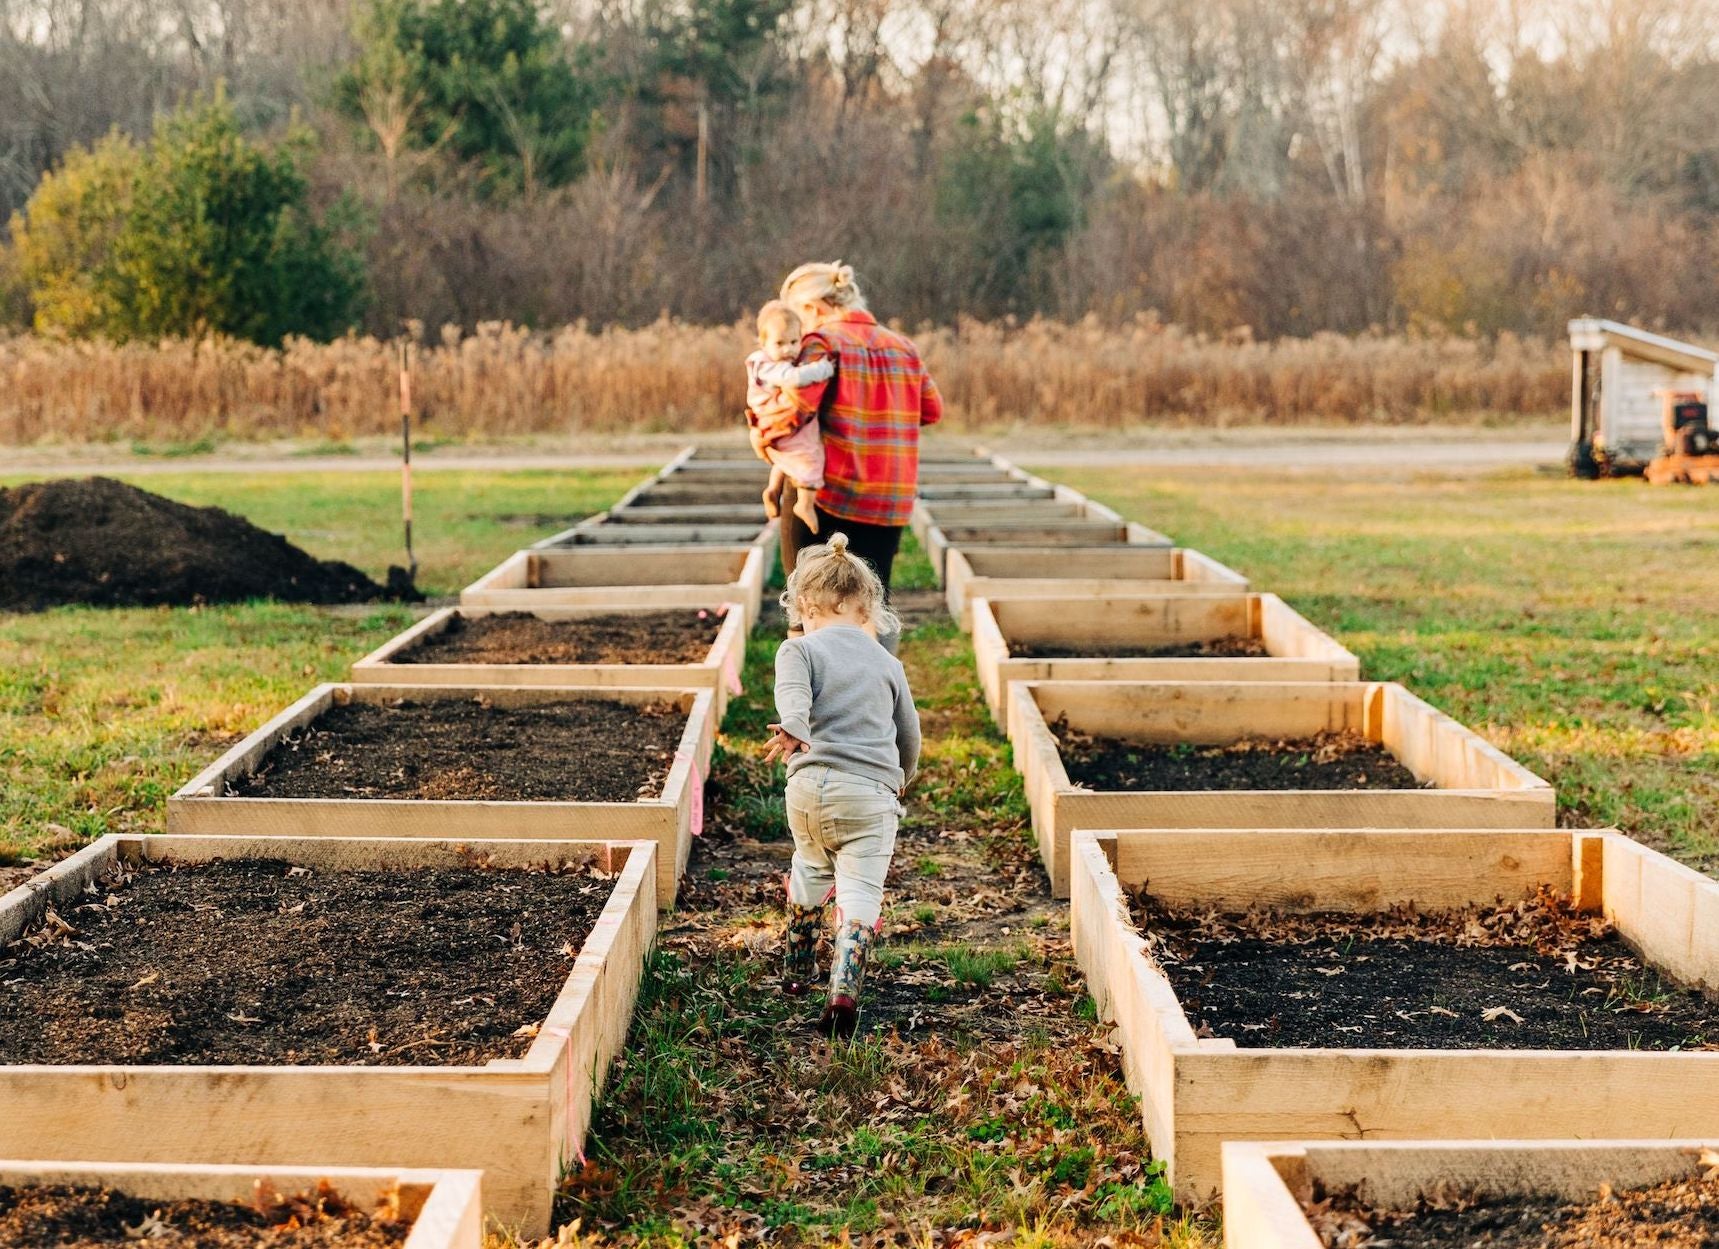
Raised bed gardening is a great solution for those who do not have a garden plot, struggle with good soil, drainage, or space, or simply want a more controlled, efficient environment for their plants. I use raised beds not only for my vegetable and herb gardens but in various parts of the farm's production program. They are very easy to set up adding structure, style, and efficiency to any space.
 With just a few tools and cuts, you can create a sturdy, long-lasting raised garden bed that will serve you for years to come. In this post, I’ll walk you through the steps to build your own raised garden bed out of rough cut lumber in less than 5 minutes and provide some alternatives if DIY isn't your cup of tea.
 Select a spot that receives ample sunlight (6-8 hours per day), has access to water, and enough space for your desired raised bed size. We use a 4-feet wide by 12-feet long by 10-inches deep sized bed. This will allow you to easily reach all areas of the bed without having to step into it. Note: This bed size is specific to cut flowers. If you are growing vegetables, I would double the height by stacking an additional bed on top. You’ll need more depth for the roots.
 To purchase, we call up our local lumber mill and order rough cut boards that are 2”x10”x12’. One bed requires three boards to build. “Rough” means that they are cut by the saw with no further finish like sanding for smooth sides/edges. We use non treated boards and are not picky about the type of wood. It’s usually pine or hemlock. We make a lot of beds, so opt for a more economical choice, otherwise cedar would be my first choice. If you do not have a local mill, any building supply store will be able to point you in the right direction.
 Next is to gather all your tools. It’s worth investing in one type of toolset and building it up as you go. Once you have chargers and batteries in stock, buying the tool alone is much cheaper and having a system that is interchangeable makes everything more efficient. Milwaukee does not sponsor us for anything, but you’ll find I’m a huge fan The quality and ease of use is top notch. They’ve been the muscle behind building this farm, so I‘ve included links to the tools we use at the end of the article (even our home vacuum).
 For one bed, you’ll need three 2”x10”x12’ rough cut boards and sixteen 4" exterior screws with a star head (the bit is usually inside the box). Use the circular saw to cut one of the boards into three 4-foot lengths. Then, cut one of the 4-foot boards into 4-inch blocks. The blocks are used for adding corner strength. You could cut them into 12-inch blocks so that there’s no waste. We use 4-inch blocks as a minimum width. See the blocks in the first picture below.

 Lay out your lumber in a rectangle to form the frame of your bed. First, drill screws into the blocks at the end boards, then attach end boards to side boards. Notice the red X where a screw should be drilled into a board. Make sure the corners are square and the frame is level. Repeat securing corners until you have a completed garden bed frame.

 Before filling your bed, consider adding a protective layer. For example, cut 1/4 inch fine metal mesh to fit the entire base of the bed and staple in to keep underground warriors from getting at the goods - especially spring bulbs like tulips!
Otherwise, fill your raised garden bed! You can purchase a premade mix or make your own by combining equal parts of compost and top soil to a couple inches shy of the top of the bed. Level the soil and water it thoroughly.
Once your raised garden bed is filled with soil, it's time to plant your garden! If you need help planning, check out our post on How To Plan for Seed Starting Indoors.
 If this DIY approach isn’t for you, consider a VEGO raised garden bed kit. Not only is the quality there, you’ll have design options with each kit. They have lots of options but here are my 3 top favorite:
10-in-1 VEGO RAISED GARDEN BED
TOOL LIST:
MILWAUKEE DRILL/DRIVER COMBO KIT *great starter kick if you do not have any tools
MILWAUKEE IMPACT DRIVER *impact drivers make drilling easier - this is my most used tool
MILWAUKEE CIRCULAR SAW *no battery included. You're all set if you have another M18 tool with a battery. Otherwise, purchase a M18 battery separately.
MILWAUKEE VACUUM *align your garden tools with house tools
FAT MAX TAPE MEASURE *personal favorite
Whether you adopt raised bed gardening into your plan or blend it with existing systems, it is a great way to create a beautiful and functional space. What crops have you found to be most successful in your raised garden beds? Share your favorite plants and tips for a bountiful harvest. If you're new to raised bed gardening, what aspects are you most excited about, and what questions do you have as you begin your journey?
Rooted Flowers only lists companies and products that we love, use, and recommend. All opinions expressed here are our own and Rooted Flowers does not offer sponsored content or accept money for editorial reviews. If you buy something using the retail links in this post, Rooted Flowers may receive a small commission. Thank you for your support!
2 Responses

If your comment doesn’t show up right away, don't fret! We have a spam filter that requires we approve most comments before they are published.
Unable to post at this time.
Also in Farm Journal


To-Your-Doorstep Peony 101


Rooted Flowers Holiday Gift Guide 2025
As another season comes to a close here at the farm, I’ve been reflecting on how much Rooted Flowers has grown and evolved. Each year feels like a whirlwind of planting, tending, harvesting, and planning for what comes next. With so much happening behind the scenes, I wanted to take a moment to gather everything we’re offering this holiday season in one place.


Bloom & Brunch: A Mother’s Day to Remember
This past Motherʼs Day, we opened the gates to Rooted Flowers for our very first Bloom & Brunch, and what unfolded felt like something out of a dream. After weeks of gray skies and unpredictable spring weather, the sun showed up right on cue—and so did all of you.
lara
October 09, 2023
MAY I ASK HOW YOU IRRAGATE ALL THOSE RAISED BEDS